
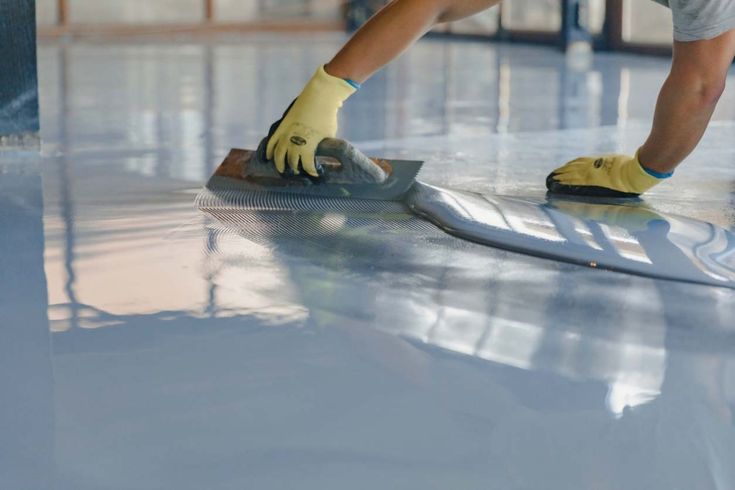
A garage floor takes more abuse than many homeowners realize. Hot tires, oil drips, road grit, moisture, dropped tools, and storage all affect bare concrete over time. When comparing Garage Floor Coatings, it helps to look beyond color and gloss and focus on what will make the finished surface practical for everyday use.
Garage coating projects often involve several stages, including slab preparation, repairs, coating application, decorative finishes, and a protective topcoat. Treating the work as a complete flooring system rather than a simple paint job can lead to a more reliable result.
Start With the Slab, Not the Sample Board
A coating can improve the look of a garage, but it cannot make every concrete problem disappear. Cracks, pitting, old paint, sealers, stains, and weak surface areas should be identified before installation begins.
This same principle applies to Concrete Coatings in other residential or commercial spaces. The condition of the substrate affects adhesion, appearance, and the amount of preparation needed before any new system can be installed.
Why Mechanical Preparation Matters
Professional garage floor projects commonly begin with mechanical grinding. This process removes weak surface material and helps create a concrete profile that the coating can bond to more effectively.
Grinding also exposes defects that may not have been obvious at first. Cracks, spalled areas, or small pits can then be repaired before the base coat is applied.
A clean, properly prepared slab gives the coating system a stronger foundation. Skipping this stage may save time initially, but it can increase the chance of peeling or other adhesion problems later.
Think About How the Garage Is Really Used
Not every garage has the same job. Some are used only for parking, while others function as workshops, gyms, detailing spaces, hobby rooms, or storage areas.
That difference should influence the coating system and finish. A garage where tools and equipment are moved regularly may need different performance priorities from a lightly used two-car parking space.
Homeowners should also consider whether the garage door stays open for long periods. Sunlight reaching the floor can influence topcoat selection, especially when color stability is important.
Choose Texture With Cleaning in Mind
Decorative flake systems can add visual interest while helping disguise everyday dust and minor marks. They can also contribute texture to the finished floor.
However, more texture is not automatically better. An overly aggressive surface may be harder to mop or wipe clean, while a very smooth finish may not suit a space that regularly becomes wet.
The right balance depends on parking habits, washing routines, footwear, and the activities that happen in the garage.
Plan Colors Around the Whole Space
A garage floor covers a large visual area, so its color can change how the entire room feels. Gray and neutral blends often create a clean background for cabinets, wall storage, tools, and vehicles.
Bolder flake blends can add more personality, particularly in garages used as show spaces or workshops. The best choice is one that works with the lighting, walls, storage system, and overall style of the home.
Viewing samples in the actual garage can be useful because daylight and artificial lighting may affect how a blend appears.
Ask About Cure Time Before Moving Everything Back
A garage coating project requires the slab to stay clear during preparation and application. Vehicles, shelving, tools, and stored items may need to be moved before work starts.
RhynoPoxy currently describes certain garage coating installations as being completed in a single day, with vehicle use possible after additional cure time. Exact timing can depend on the system, weather, slab condition, and project details.
Homeowners should follow the installer’s return-to-service instructions instead of assuming the floor is ready as soon as it feels dry.
Keep Maintenance Simple After Installation
A coated garage floor is easier to care for when dirt and grit are removed regularly. Sweeping or vacuuming helps prevent abrasive debris from being ground into the surface by shoes or tires.
Spills should be cleaned promptly, and cleaning products should be compatible with the installed topcoat. It is worth asking for written care guidance at the end of the project.
Periodic inspection can also help identify isolated damage before it becomes a larger issue.
Conclusion
A successful garage floor upgrade starts long before the decorative finish is applied. Slab condition, mechanical preparation, repairs, texture, colour, cure time, and ongoing maintenance all influence how the completed system performs.
Bay Area homeowners planning a professional garage coating project can explore suitable solutions through rhynopoxy.com. Choosing the floor around real parking, storage, and workshop use can create a cleaner and more functional garage.

